No edit summary |
No edit summary |
||
| (One intermediate revision by the same user not shown) | |||
| Line 7: | Line 7: | ||
== Defining shifts == | == Defining shifts == | ||
[[File:Screenshot 2024-07-02 at 8.37.53 AM.png|thumb|Shifts page]]Shift times are used to calculate daily goals for part production. If they are not set up correctly, daily goal lines will not be drawn or they will be drawn inaccurately. Shift times can also be overridden on a per-machine basis. Be sure the time zone (also available from the Options page) is set correctly '''before''' defining shift times. Once the time zone is set, click Save Changes before defining shift times. | |||
From the machines page, click the Shifts button at the top right. The shift manager will open to the Edit tab and display a list of the currently defined shifts. | From the machines page, click the Shifts button at the top right. The shift manager will open to the Edit tab and display a list of the currently defined shifts. | ||
| Line 13: | Line 15: | ||
Create additional shifts by clicking the New button at the top and entering a name for the new shift. Once created, the shift will appear in the list with the entered name. | Create additional shifts by clicking the New button at the top and entering a name for the new shift. Once created, the shift will appear in the list with the entered name. | ||
'''Only administrator and planner users can manage | '''Only administrator and planner users can manage shifts.'''[[File:Screenshot 2024-07-02 at 8.35.06 AM.png|thumb|Shifts can be configured under the "Machines" module]][[File:Screenshot 2024-07-02 at 8.47.53 AM.png|thumb|Shift window]]To set shift times: | ||
# Click the drop down arrow located to the right of the "MACHINES" module, select "Shifts" | |||
#In the bottom right hand corner, click the green "+NEW" button | |||
#Configure the shift info (color, name, start and end time, days that the shift applies to, and whether the shift is unattended) | |||
#Click on "Machines" and add the machines that adhere by those shifts. Clicking exit will save the settings. | |||
=== Color === | === Color === | ||
The shift's color is displayed in the machine card details when the shift is active, and atop the production charts to indicate when the shift will be active. It may be used in more places in future versions. Click the color swatch to change the color. | The shift's color is displayed in the machine card details when the shift is active, and atop the production charts to indicate when the shift will be active. It may be used in more places in future versions. Click the color swatch to change the color. | ||
Latest revision as of 17:24, 2 July 2024
Shifts allow breaking down production days by any amount of time. They can be used to reduce the total length of production time used in calculations of expected part production.
Defining shifts
Shift times are used to calculate daily goals for part production. If they are not set up correctly, daily goal lines will not be drawn or they will be drawn inaccurately. Shift times can also be overridden on a per-machine basis. Be sure the time zone (also available from the Options page) is set correctly before defining shift times. Once the time zone is set, click Save Changes before defining shift times.
From the machines page, click the Shifts button at the top right. The shift manager will open to the Edit tab and display a list of the currently defined shifts.
For new installations, only one shift ("Default shift") will be present. For installations that were upgraded to server 4.10.3 or newer, a shift has also been created for each machine that had shift times set prior to upgrading.
Create additional shifts by clicking the New button at the top and entering a name for the new shift. Once created, the shift will appear in the list with the entered name.
Only administrator and planner users can manage shifts.
To set shift times:
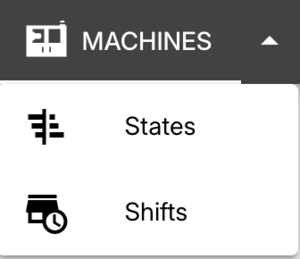
- Click the drop down arrow located to the right of the "MACHINES" module, select "Shifts"
- In the bottom right hand corner, click the green "+NEW" button
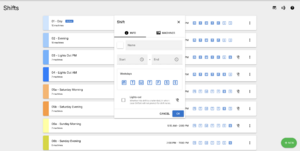
- Configure the shift info (color, name, start and end time, days that the shift applies to, and whether the shift is unattended)
- Click on "Machines" and add the machines that adhere by those shifts. Clicking exit will save the settings.
Color
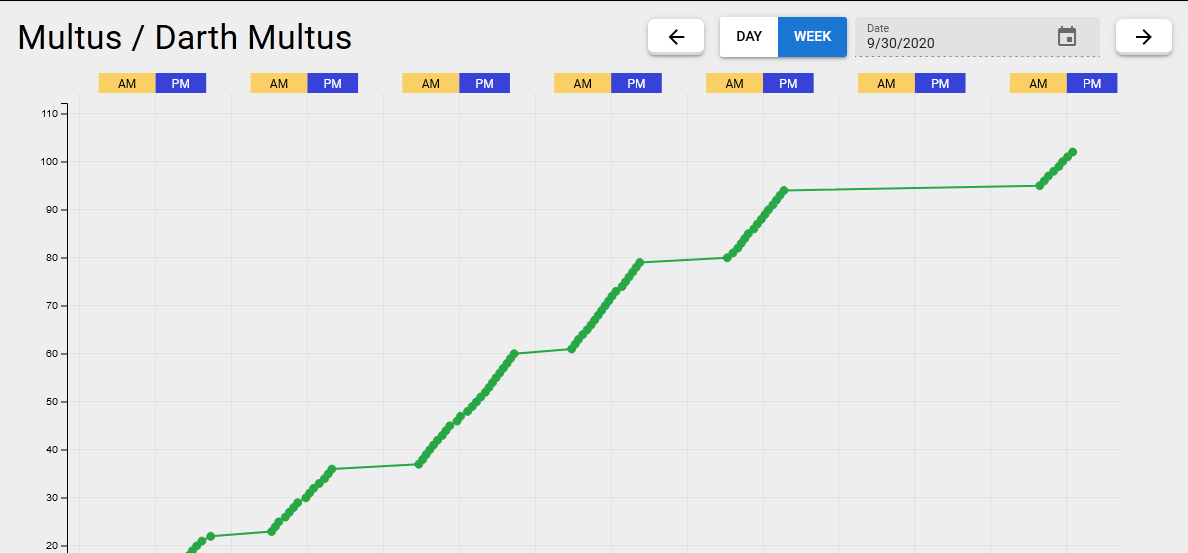
The shift's color is displayed in the machine card details when the shift is active, and atop the production charts to indicate when the shift will be active. It may be used in more places in future versions. Click the color swatch to change the color.
Name
The shift's name will be used to identify it throughout OnTakt. Names should be unique (though this is not required). Click the name to change it. Changing the name will not affect any machine assignments.
Start and end
The start and end times of the shift determine when OnTakt considers it to be active on each of the selected days. Click the start or end times to change them.
Start and end times in the shift manager are always shown in the server's configured time zone, which should match the time zone of the shop and may not match the time zone of the browser accessing OnTakt.
Shift times displayed in expanded machine cards are converted to the browser's time zone.
Cross-day shifts
Shifts with a start time later than the end time are considered "cross-day" shifts because they cross midnight. The OnTakt server will correctly handle calculations involving these shifts.
24-hour shifts
Shifts can be defined to run constantly by setting the start and end times to the same time. Selecting all weekdays will make this a 24/7 shift.
Machines with only a 24/7 shift assigned will behave as if they do not have any shift assigned because machines without any shifts are assumed to run 24/7 for goal calculations.
Weekdays
Select days for the shift to run by clicking on them. Selected days appear as filled-in circles and deselected days appear as empty circles.
Lights-out
Check this box if the shift is meant to run without human operators. This is not currently used, but it may be used in future OnTakt versions.
Actions
Click the trash can icon to delete a shift. Deleting a shift will remove it from all of its assigned machines.
Assigning shifts to machines
From the machines page, click the Shifts button at the top right. The shift manager will open to the Edit tab and display a list of the currently defined shifts. Switch to the Machines tab at the top. Each shift now lists the machines it is assigned to.
Click the Add button in a shift's row and select a machine to assign it to. Only machines the shift is not already assigned to are listed.
To remove a machine/shift assignment, click the x button next to the machine's name in the shift's row.


